What are green screens?In films, green screens are often used to replace a background in a scene. This is done in the editing process by removing the green areas and replacing them with another background or creative scene.
Even though you might not be creating feature films, green screens can be a useful tool for your content creation journey.
Why do we use them?Most items in the Digital Downloads Shop feature transparent backgrounds which require the use of .MOV files. This file format allows me to create and distribute high resolution animated files for you to drag and drop into your own videos.
I try to prioritize quality and ease of use to make them beginner friendly so .MOVs are use more often. However, a few cons arise when using .MOVs. First, they are extremely large files (sometimes 100 MB each) and second, they cannot be used when editing on mobile devices.
In cases where items are created for Reels/TikTok or editing on mobile devices, a mobile version is made using green screens.
Items in the shop that use green screens:
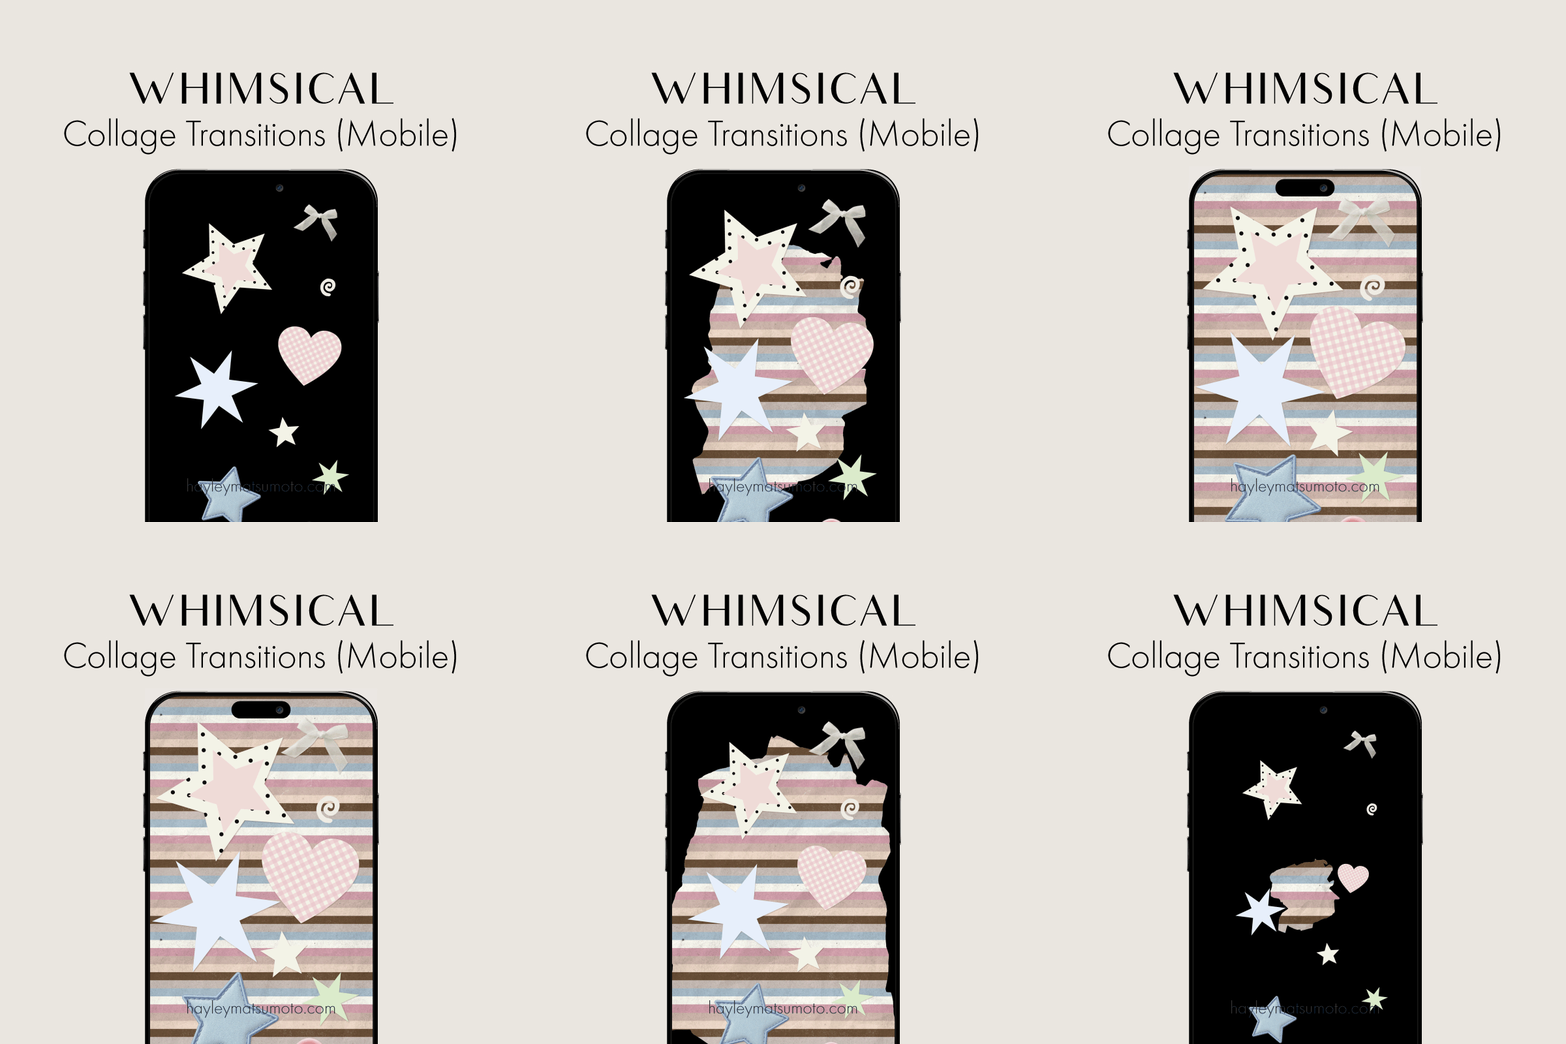

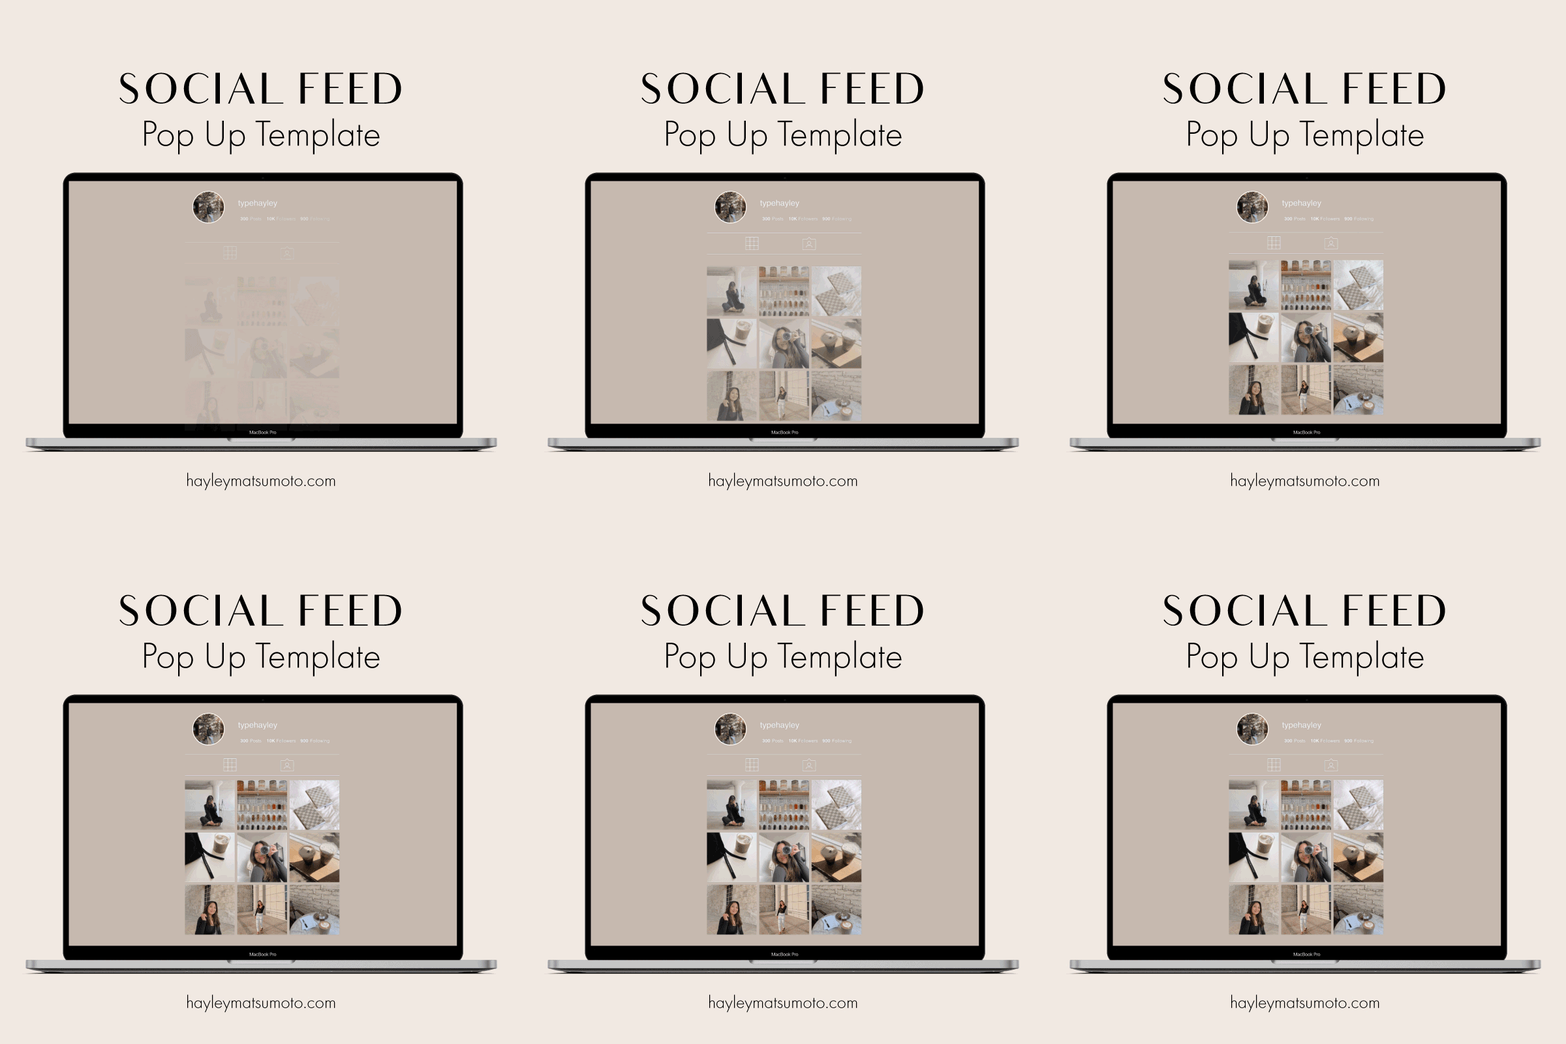

Graphics using green screens are helpful when:
editing on mobile devices
storage space is limited
using an editing app that does not accept .MOV files, like CapCut
There is an extra step or two involved when using green screens which we will break down below.
HOW TO EDIT ON MOBILEWhen using green screens, our primary objective is to remove the green portion leaving the non-green areas (usually the graphics) for our video. Sometimes this is referred to as a Chroma Key. Here is what a green screen file might look like when you open it.
Take a look at the example timeline, your green screen will either need to be placed above or below your video clips.
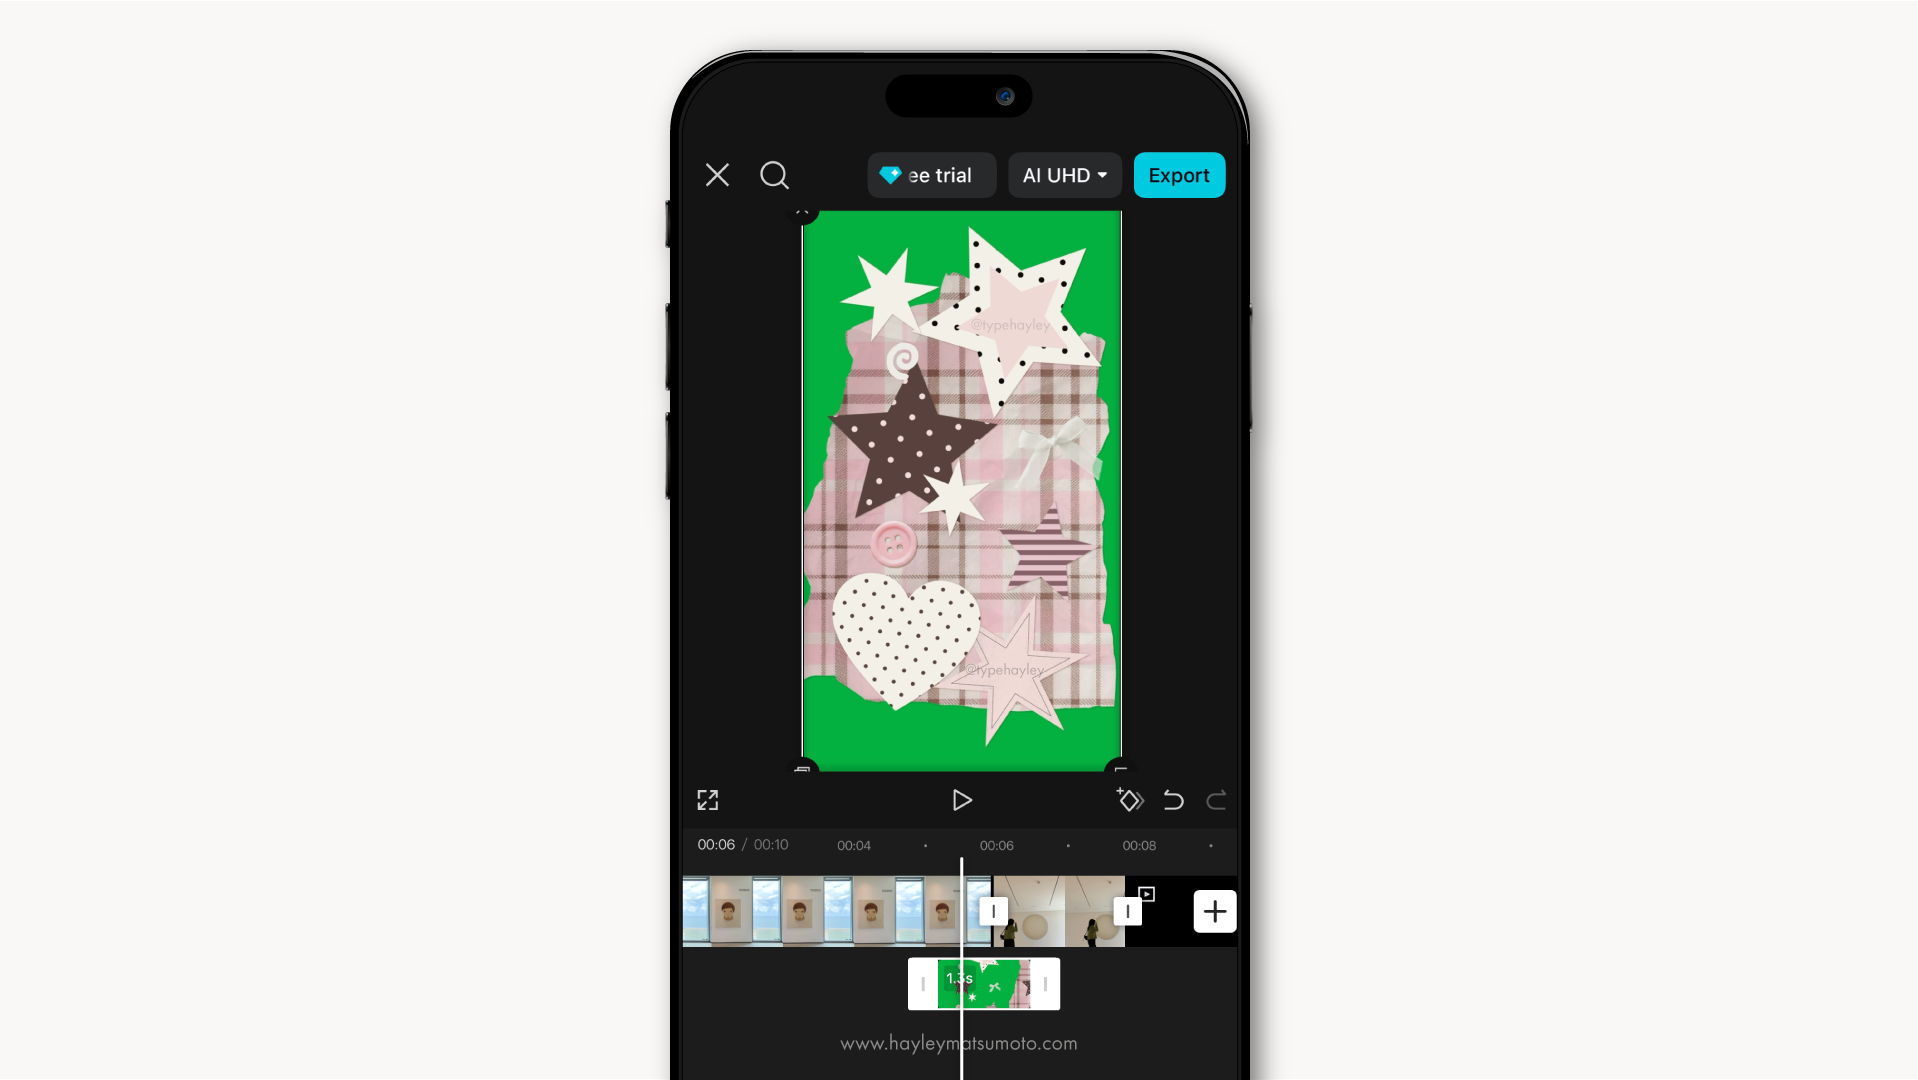
Using CapCut
Add your video clips to your timeline.
At the bottom, tap “Add Overlay.” Your green screen clip graphic will be placed below the timeline.
Select your clip with green screen and adjust so it covers the entire screen.
With the clip selected, tap Remove BG > Chroma key.
Drag the color picker to the green part of the green screen. Adjust as needed.
Using iMovie (mobile)
Open your project with your video on the timeline.
Click the + icon.
Select your green screen graphic and click the three dots icon.
Add to your timeline as Green/Blue Screen.
Adjust the clip by trimming or moving along the timeline to your desired placement.
For even more help, make sure to visit your editing software’s website or email me. As always, I can’t wait to see how incorporate these tips in your content.
Try out green screens using these downloads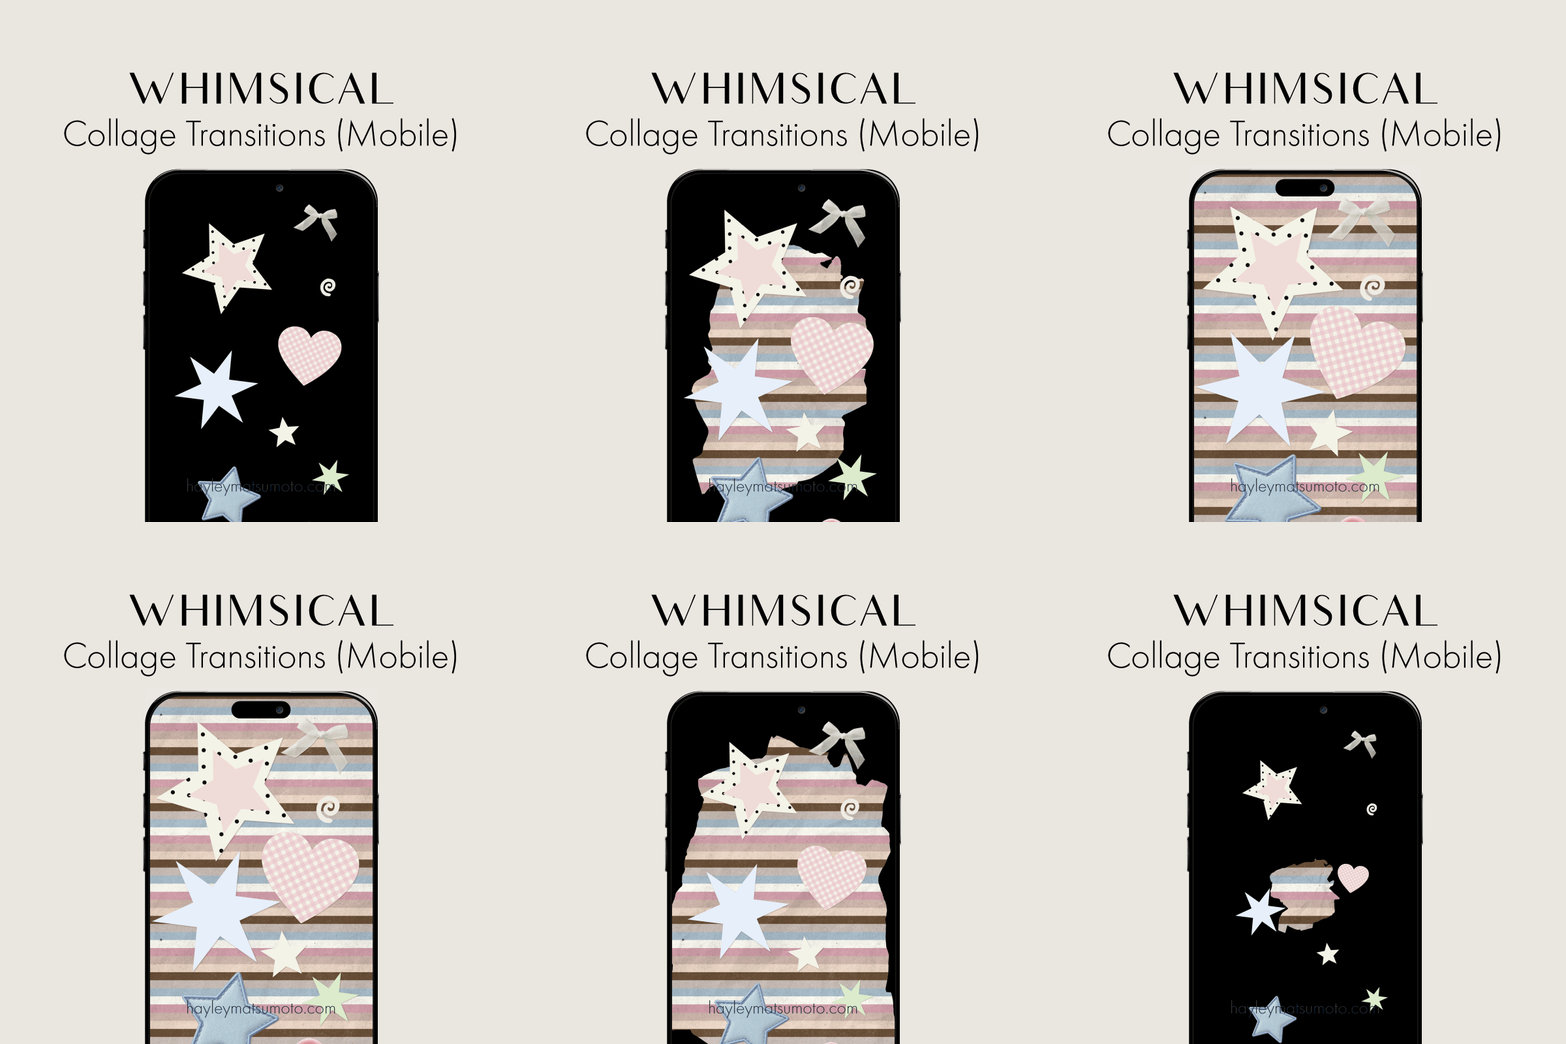

Happy creating <3
